Hey there my beautiful crafty friends! It’s another beautiful day here, but boy my kids are driving my bonkers, lol. I have been trying to write this post since 7:30 this morning, I can’t even tell you how many times I have been interrupted. I know I should of already been prepared and had this done weeks ago, but who are we kidding?? Many of us crafters are last minute crafters. Plus with the flood of our basement Sunday night, my craft room has been full of all my toddlers toys while the play area drys out, that doesn’t make crafting fun; especially when you are a messy crafter. Anyways, today is my 4th day as a growing in Unity girl and I have a tutorial for you. It’s actually a follow up of a crafty tip I gave you all on Tuesday.
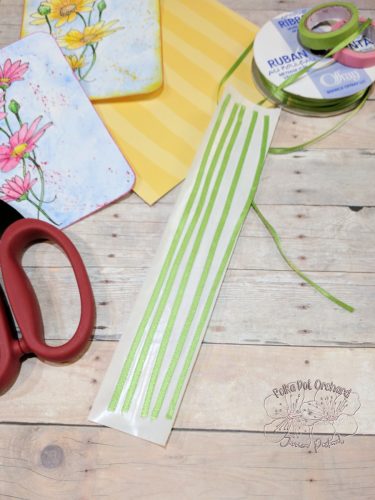
Quick Tip: When attaching thin strips of ribbon, run it through a sticker maker. I use the little Xyron sicker makers and run 4 strips through at a time to get the most out of my sticker material. If you put multiple strips in at once, you have to pull slowly and guide the ribbon so they don’t overlap.
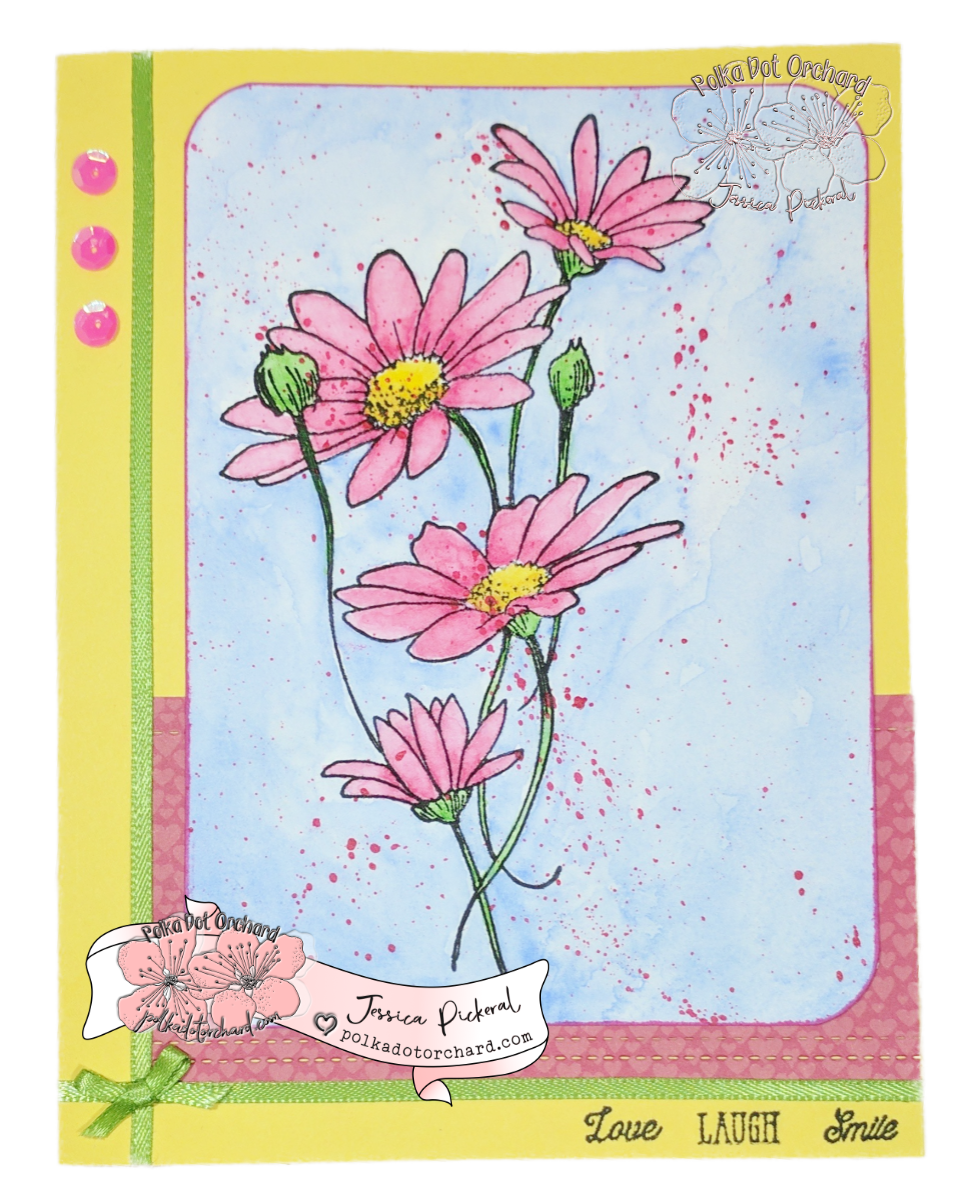
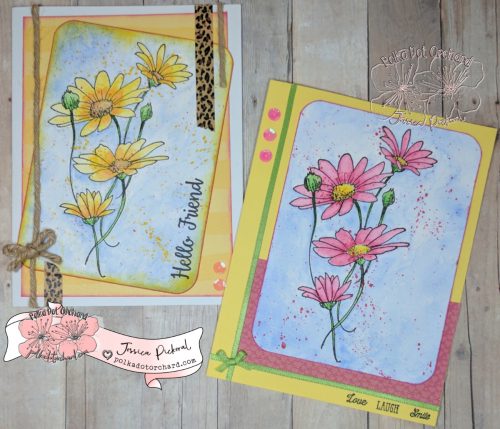
I used the same stamp I used on yesterdays card, the beautiful flower from the KOM {Free Your Dreams} and painted it with Kuretake watercolor. I’m not going to get into other card detail, I’m just going to jump right into the tutorial for using ribbon but first I want to show you a sneak peak of something I am working on that will be available tomorrow in my shop.
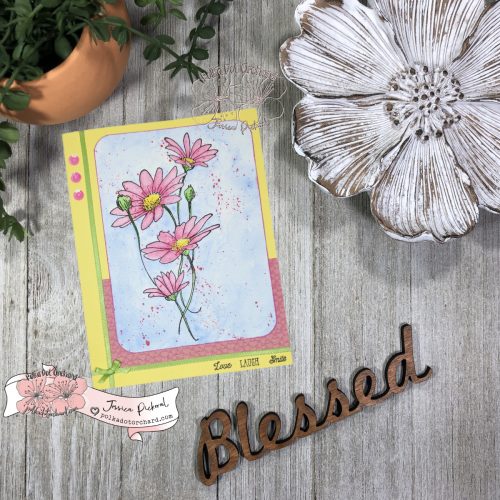
Do you notice how the staged backgrounds for today’s card look just like the staged backgrounds from Monday’s post? Remember, I couldn’t decide what background I liked most? Well, upon request of several followers I have decided to add {Mockup Project Backgrounds} to the Polka Dot Orchard shop. These two will be the first available and they will be available tomorrow. Also, a little fact about me…. I absolutely love staging the backgrounds for my crafty projects, probably as much as I love stamping, watercoloring and all things crafty. You know what that means? There will be new mockups added often and since I am always buying new staging items there will be quite a variety for you to chose from.

Alright, now let’s cover this little ribbon tutorial.
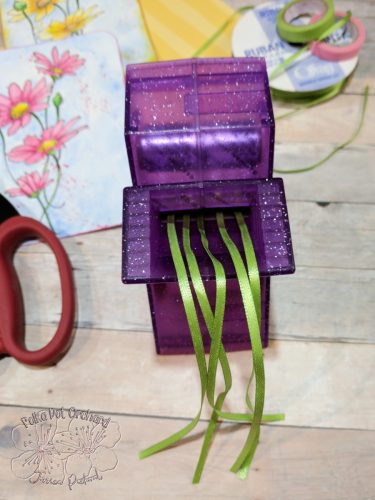
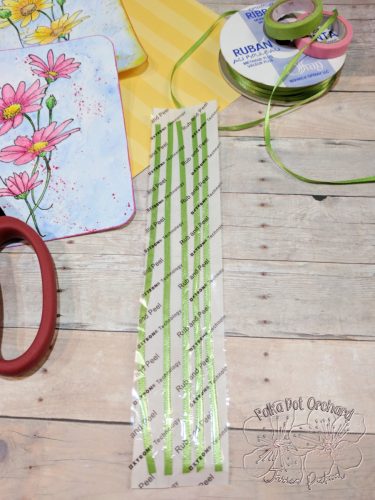
Start by cutting your strips of ribbon at equal lengths. Cut enough to fill your sticker maker. Leave a little space in between each pice of ribbon as shown in the picture.
Slowly pull your ribbon through your sticker maker. Make sure to keep the ribbon straight as you pull it.
Ok, I don’t have a full example photo for this step, sorry. After you have your ribbon completely pulled through and cut from your sticker maker, push firmly and rub all over your sticker sheet. I always use a styling tool (the ones used for shaping flowers or cake fondant) while laying my sticker sheet over a foam mat and run it along side my ribbon. I like using the ones with a smallest head but if you don’t have one, scoring tools will work too. Doing this step helps to make sure there is no sticker material left in places it shouldn’t be.
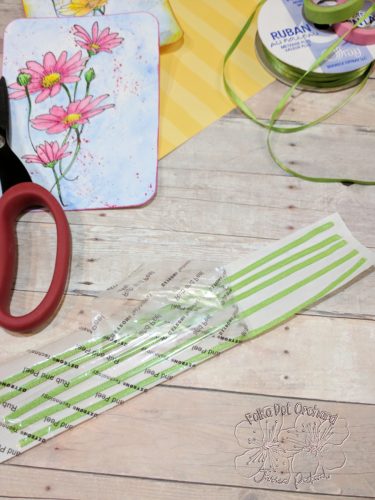
Pull the clear covering off your sticker sheet and ribbon. Pull slowly to start, the end of the ribbon may stick to the top sheet (picture below), don’t keep pulling. Pull the ribbon stuck to the top clear sheet and reattach it to the bottom sheet.

Remember, don’t keep pulling if this happens. Refer to photo above for further direction.
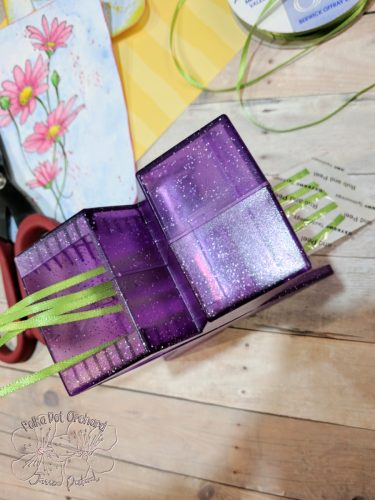
Now you have a full sheet of adhesive backed ribbon. This makes adding ribbon to your crafting project a clean breeze.
Take note to the picture above, one of the pieces I didn’t guide well, see how it is not straight? You want to try to avoid that the best you can.
I hope todays post has thought you something new and you have found some crafty inspiration from my project. Make sure to stop back by tomorrow for my last day as a Growing In Unity girl, I promise it won’t be as late as todays post.
Thank you for stoping by
Happy Crafting!