Hey crafty friends! It’s been just a bit since I’ve made a blog post. After the craziness of the holidays, have surgery and the entire family having catching the flu, I needed to step away from all things social media so I could get my house and self back in order. I am back now and ready to rock and roll. So, today I am sharing a tag I made using my new digi set and some Tim Holtz things.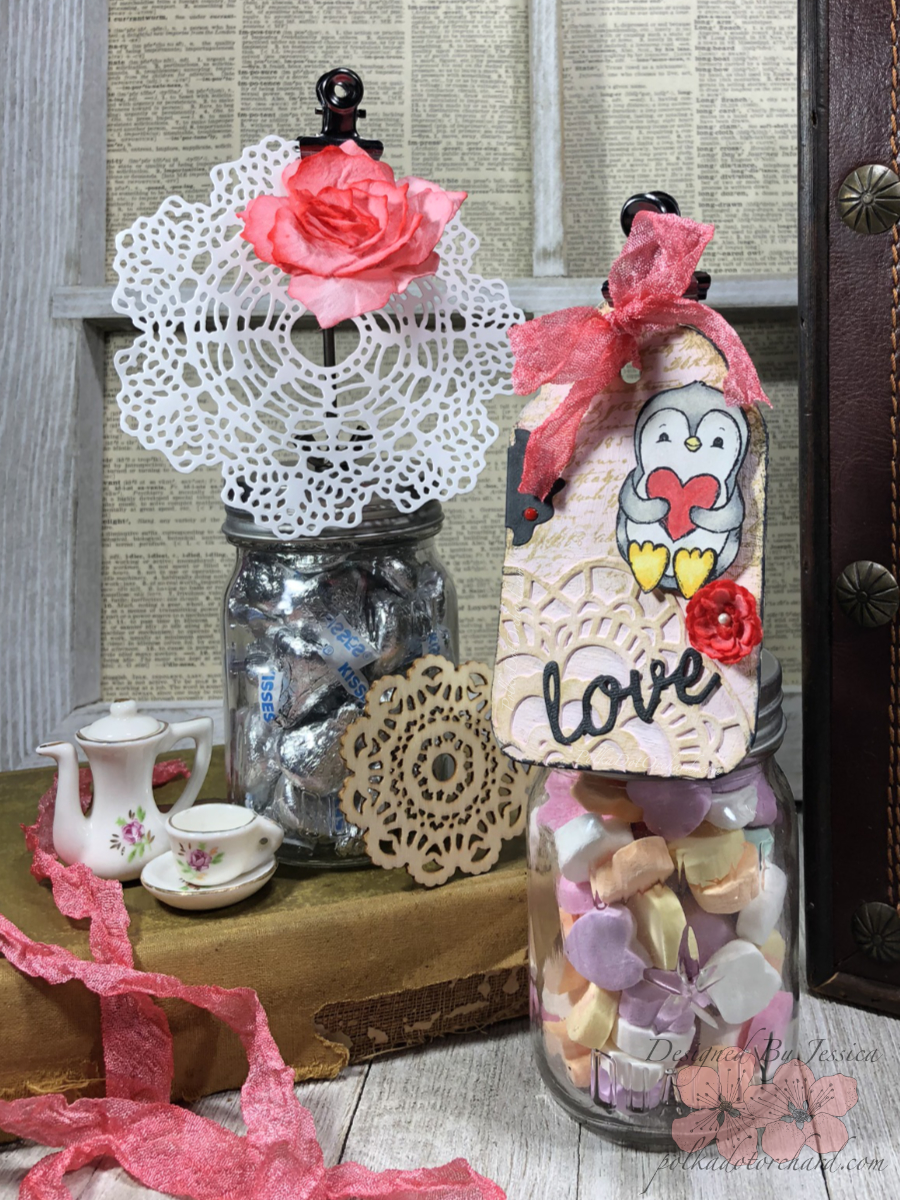
Isn’t that penguin just the cutest? He is from my {Penguin Love} digi set and was colored using Spectrum Noir markers. It was actually quite nice to use my markers, especially since they were starting to collect some dust. The heart was actually damp/dry brushed using Feative Berries Distress Ink. I decided to do that instead of using my markers because I used that same ink throughout the rest of the tag.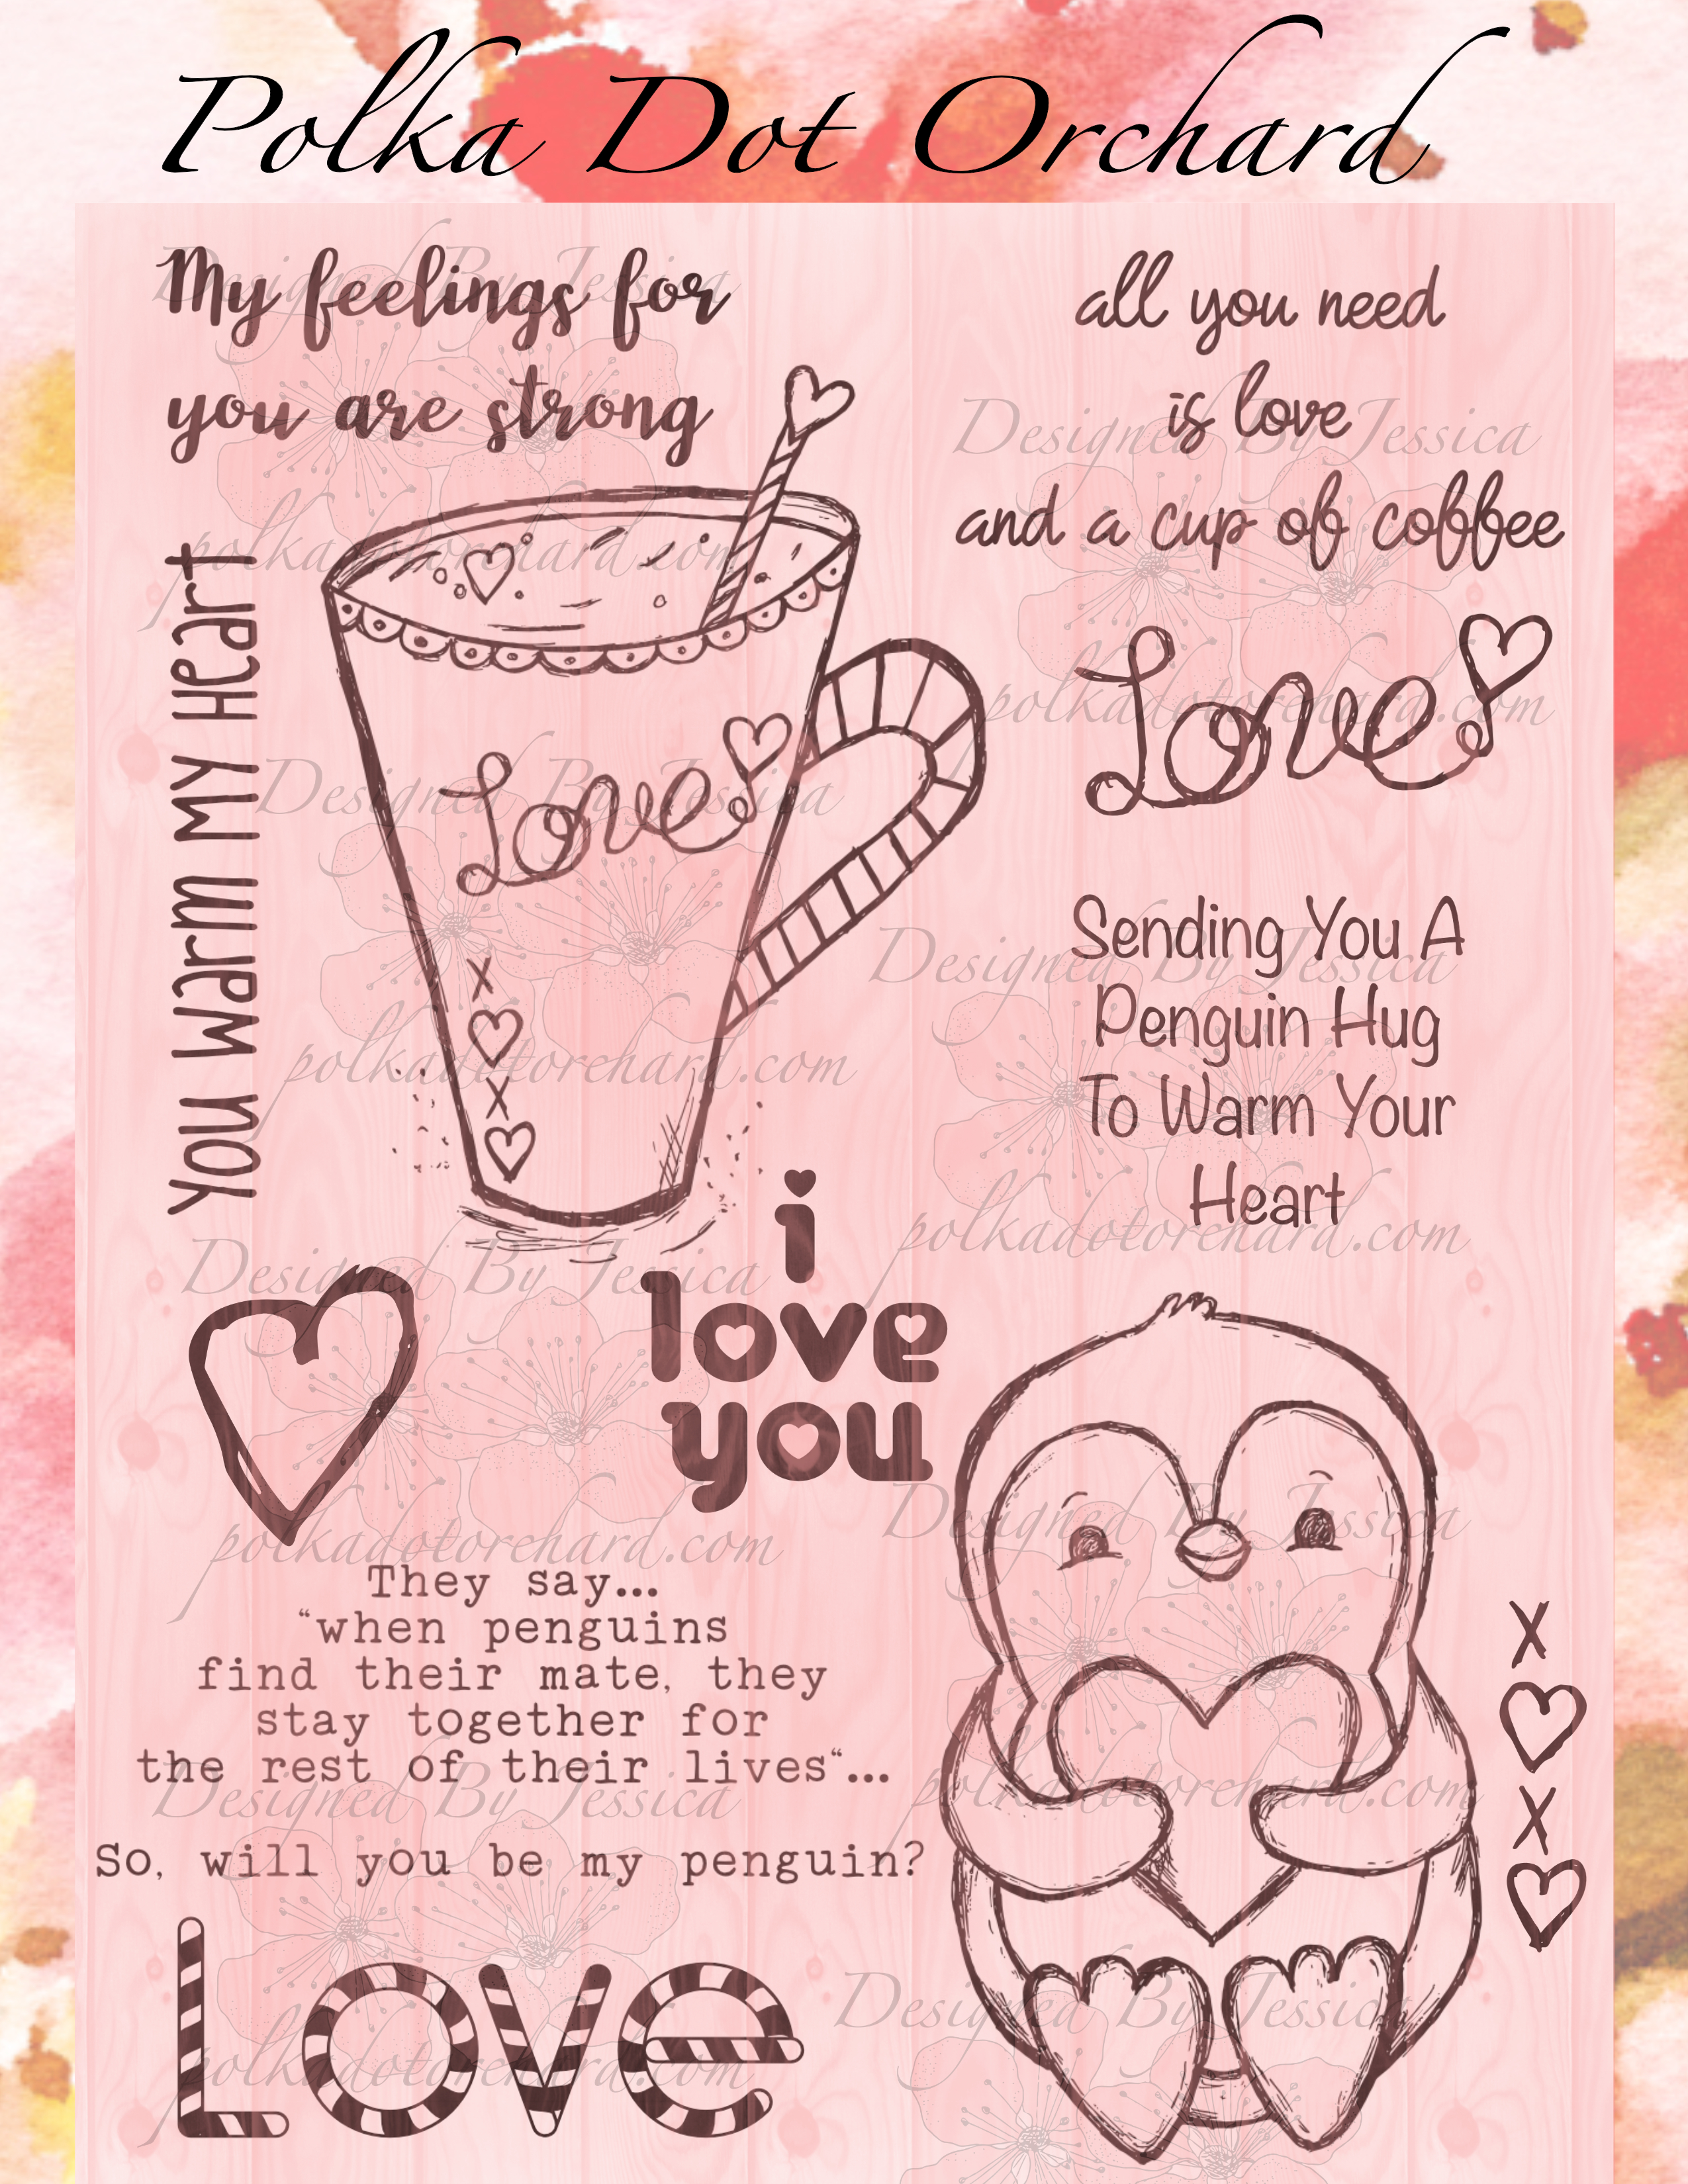
That beautiful lace design on the bottom corner was created using a die from Tim Holtz Sizzix {Mixed Media #2} die set. I cut it twice out of cardstock, trimmed them down, stacked them and attached them to my tag using some matte medium. I love the raised texture I get by stacking my die cuts.
I then mixed a little Festive Berries reinker with some acrylic paint and painted my entire tag followed by some random stamping of the scripty stamp from Tim Holtz {Ledger Script} stamp set in Frayed Burlap Distress Oxide which I also lightly smugged over the lacy die cut with my finger so it would stand out a little bit more.
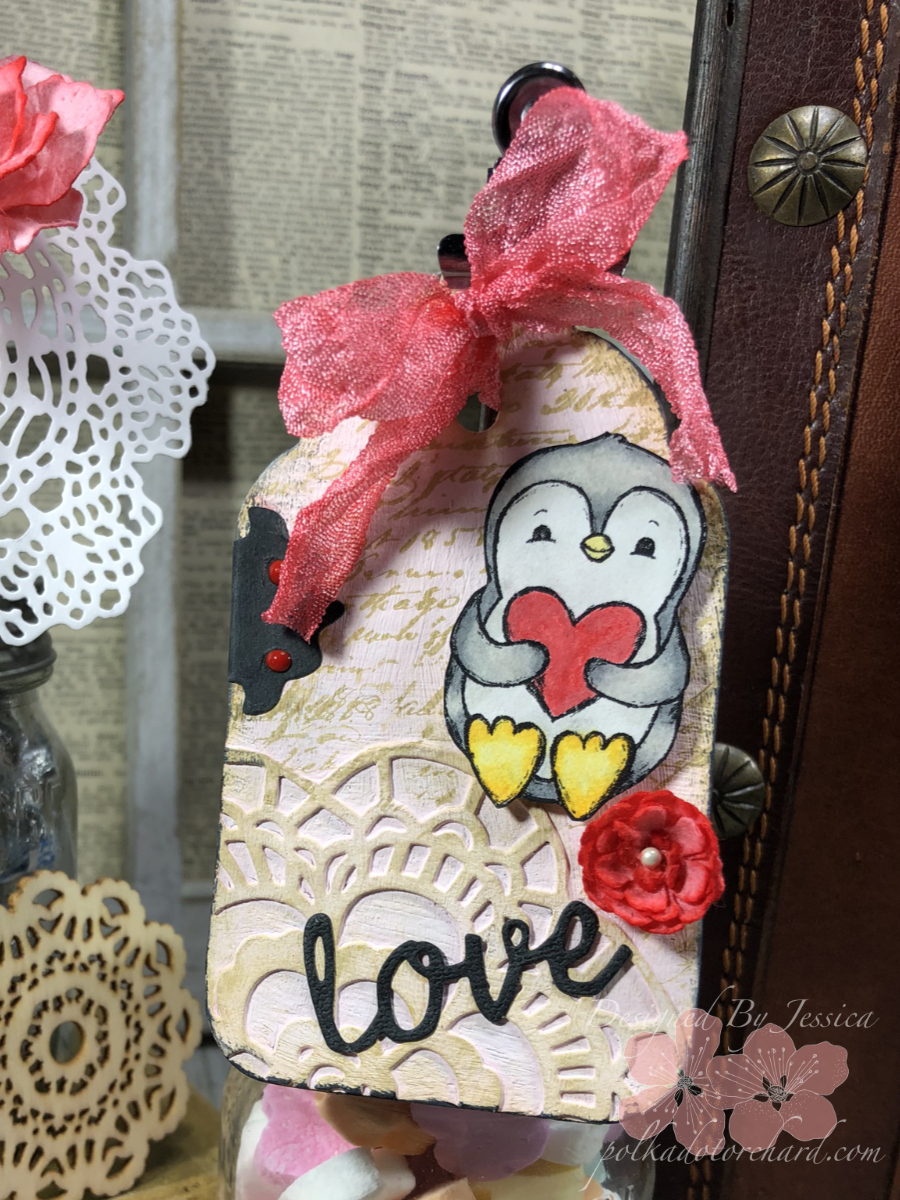
The hinge on the side as of my tag is a Bosskut die. I believe that company is no longer around but did make nice dies and I figured I should start using some things for my craft stash. I created the look of faux pink brads by using some Nuvo drops.
I used Tim Holtz Side-order set {Valentine} to cut the word love and adhered it to my tag using some gel matte medium.
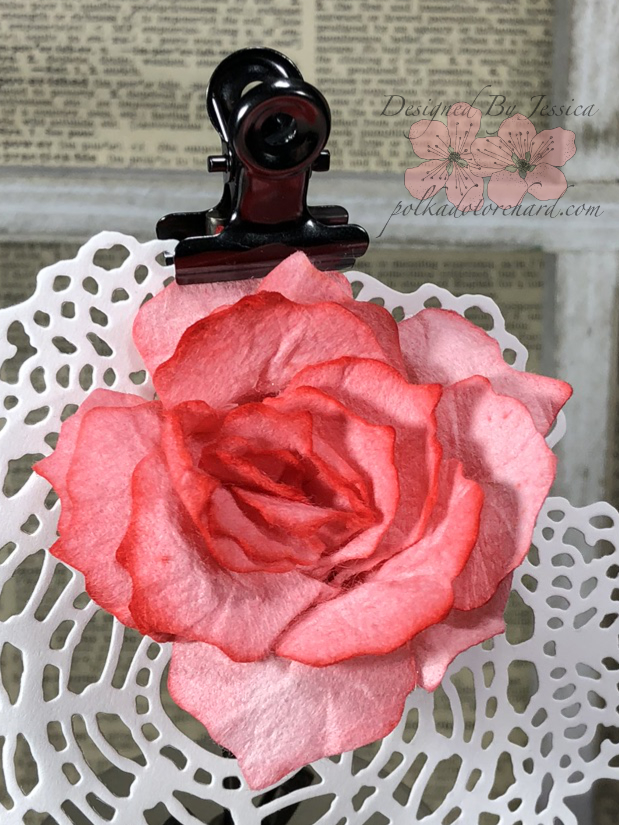
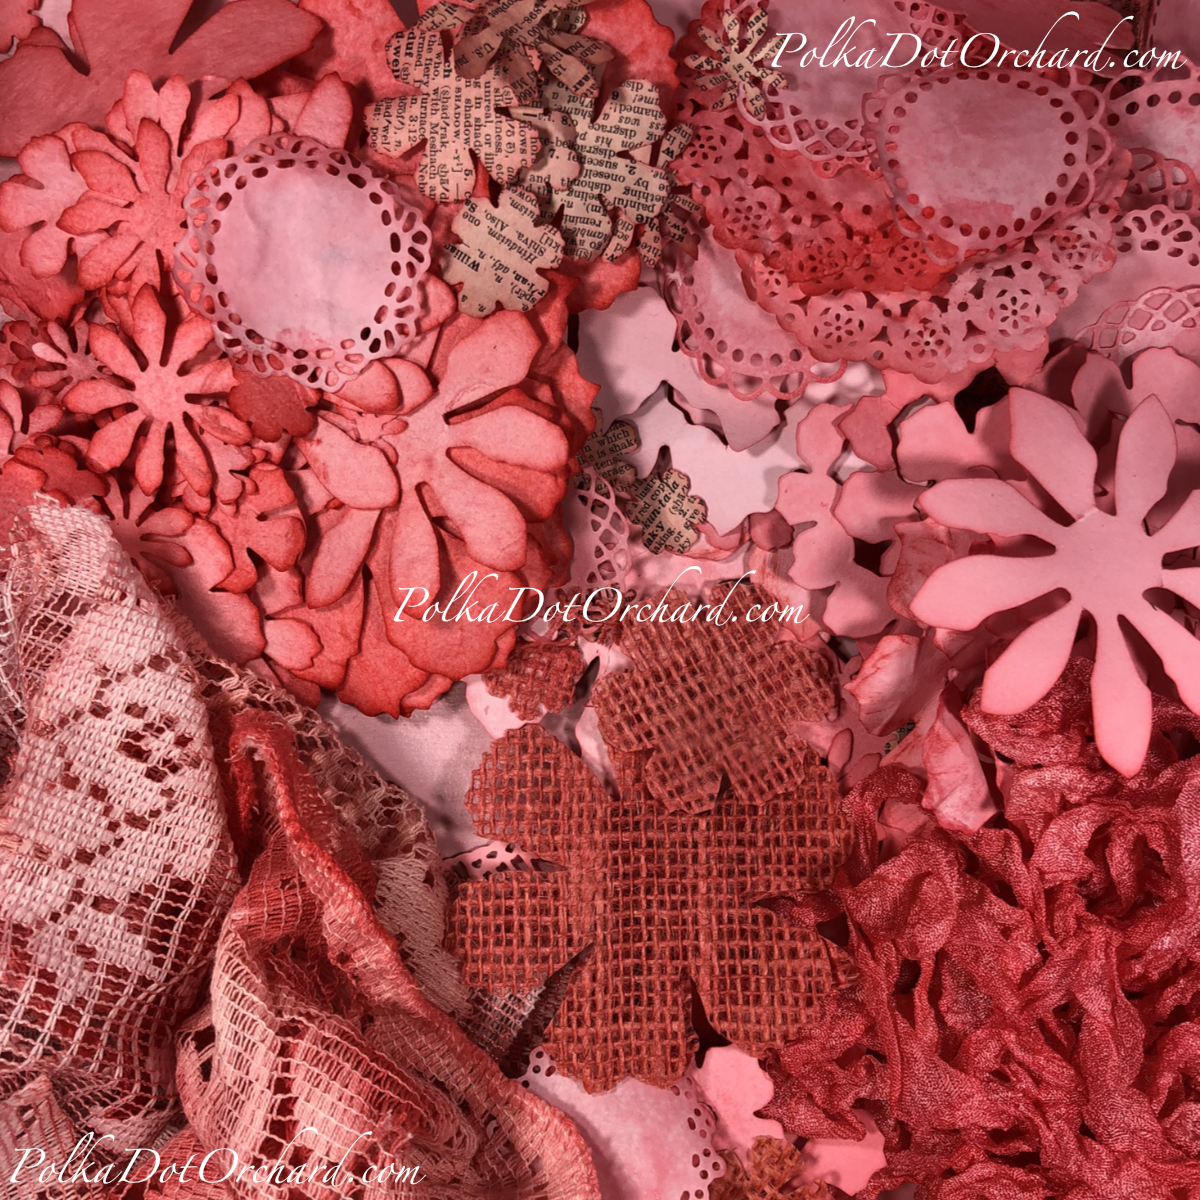
Now, let’s talk a little about paper flowers, I love them but I would never be able to afford to have them in many sizes and lots of colors so they would match all my creations. So, I decided to buy the stuff to make them myself. I went with the Tim Holtz Tattered Floral dies, all of the tattered floral sets and both pinecone dies. For the little flower on the tag I used the {Small Tattered Floral} die set and for the big rose hanging with the doily I used the {Jumbo Tattered Pinecone} die. Speaking of the doily, isn’t it beautiful? I cut it with the Tim Holtz {Doily} die. My husband said to me, “but, you know you can just buy doilies?” He doesn’t get it, lol. Having that doily die means I can cut out doilies in any color and type of paper I would like. Ok, now back to the flowers. They were cut out of mulberry paper and then colored by mixing a few drops of Festive Berries into some water and spritzing the flowers, and the letting them dry. After they were dry I used a flower shaping tool to give a more realistic look to the petals and then glued them together. And then finishing them off by adding some stamens to the flower centers.
Now, how about my photo set up; what do you think? I decided to try my hand at photo staging and actually am pretty happy with how it came out. I love those Tim Holtz {Mini Mason Jars} with the {Photo Clip Kit} they are just the perfect thing for displaying tags. I think my favorite part of the set up is the mini tea set, it’s so cute and tiny.
One last thing, I have been playing around with making crinkle ribbon and strangely find it very enjoyable. I used Festive Berries Distress reinker and a bit of water to stain the ribbon making it a beautiful shade of pink.
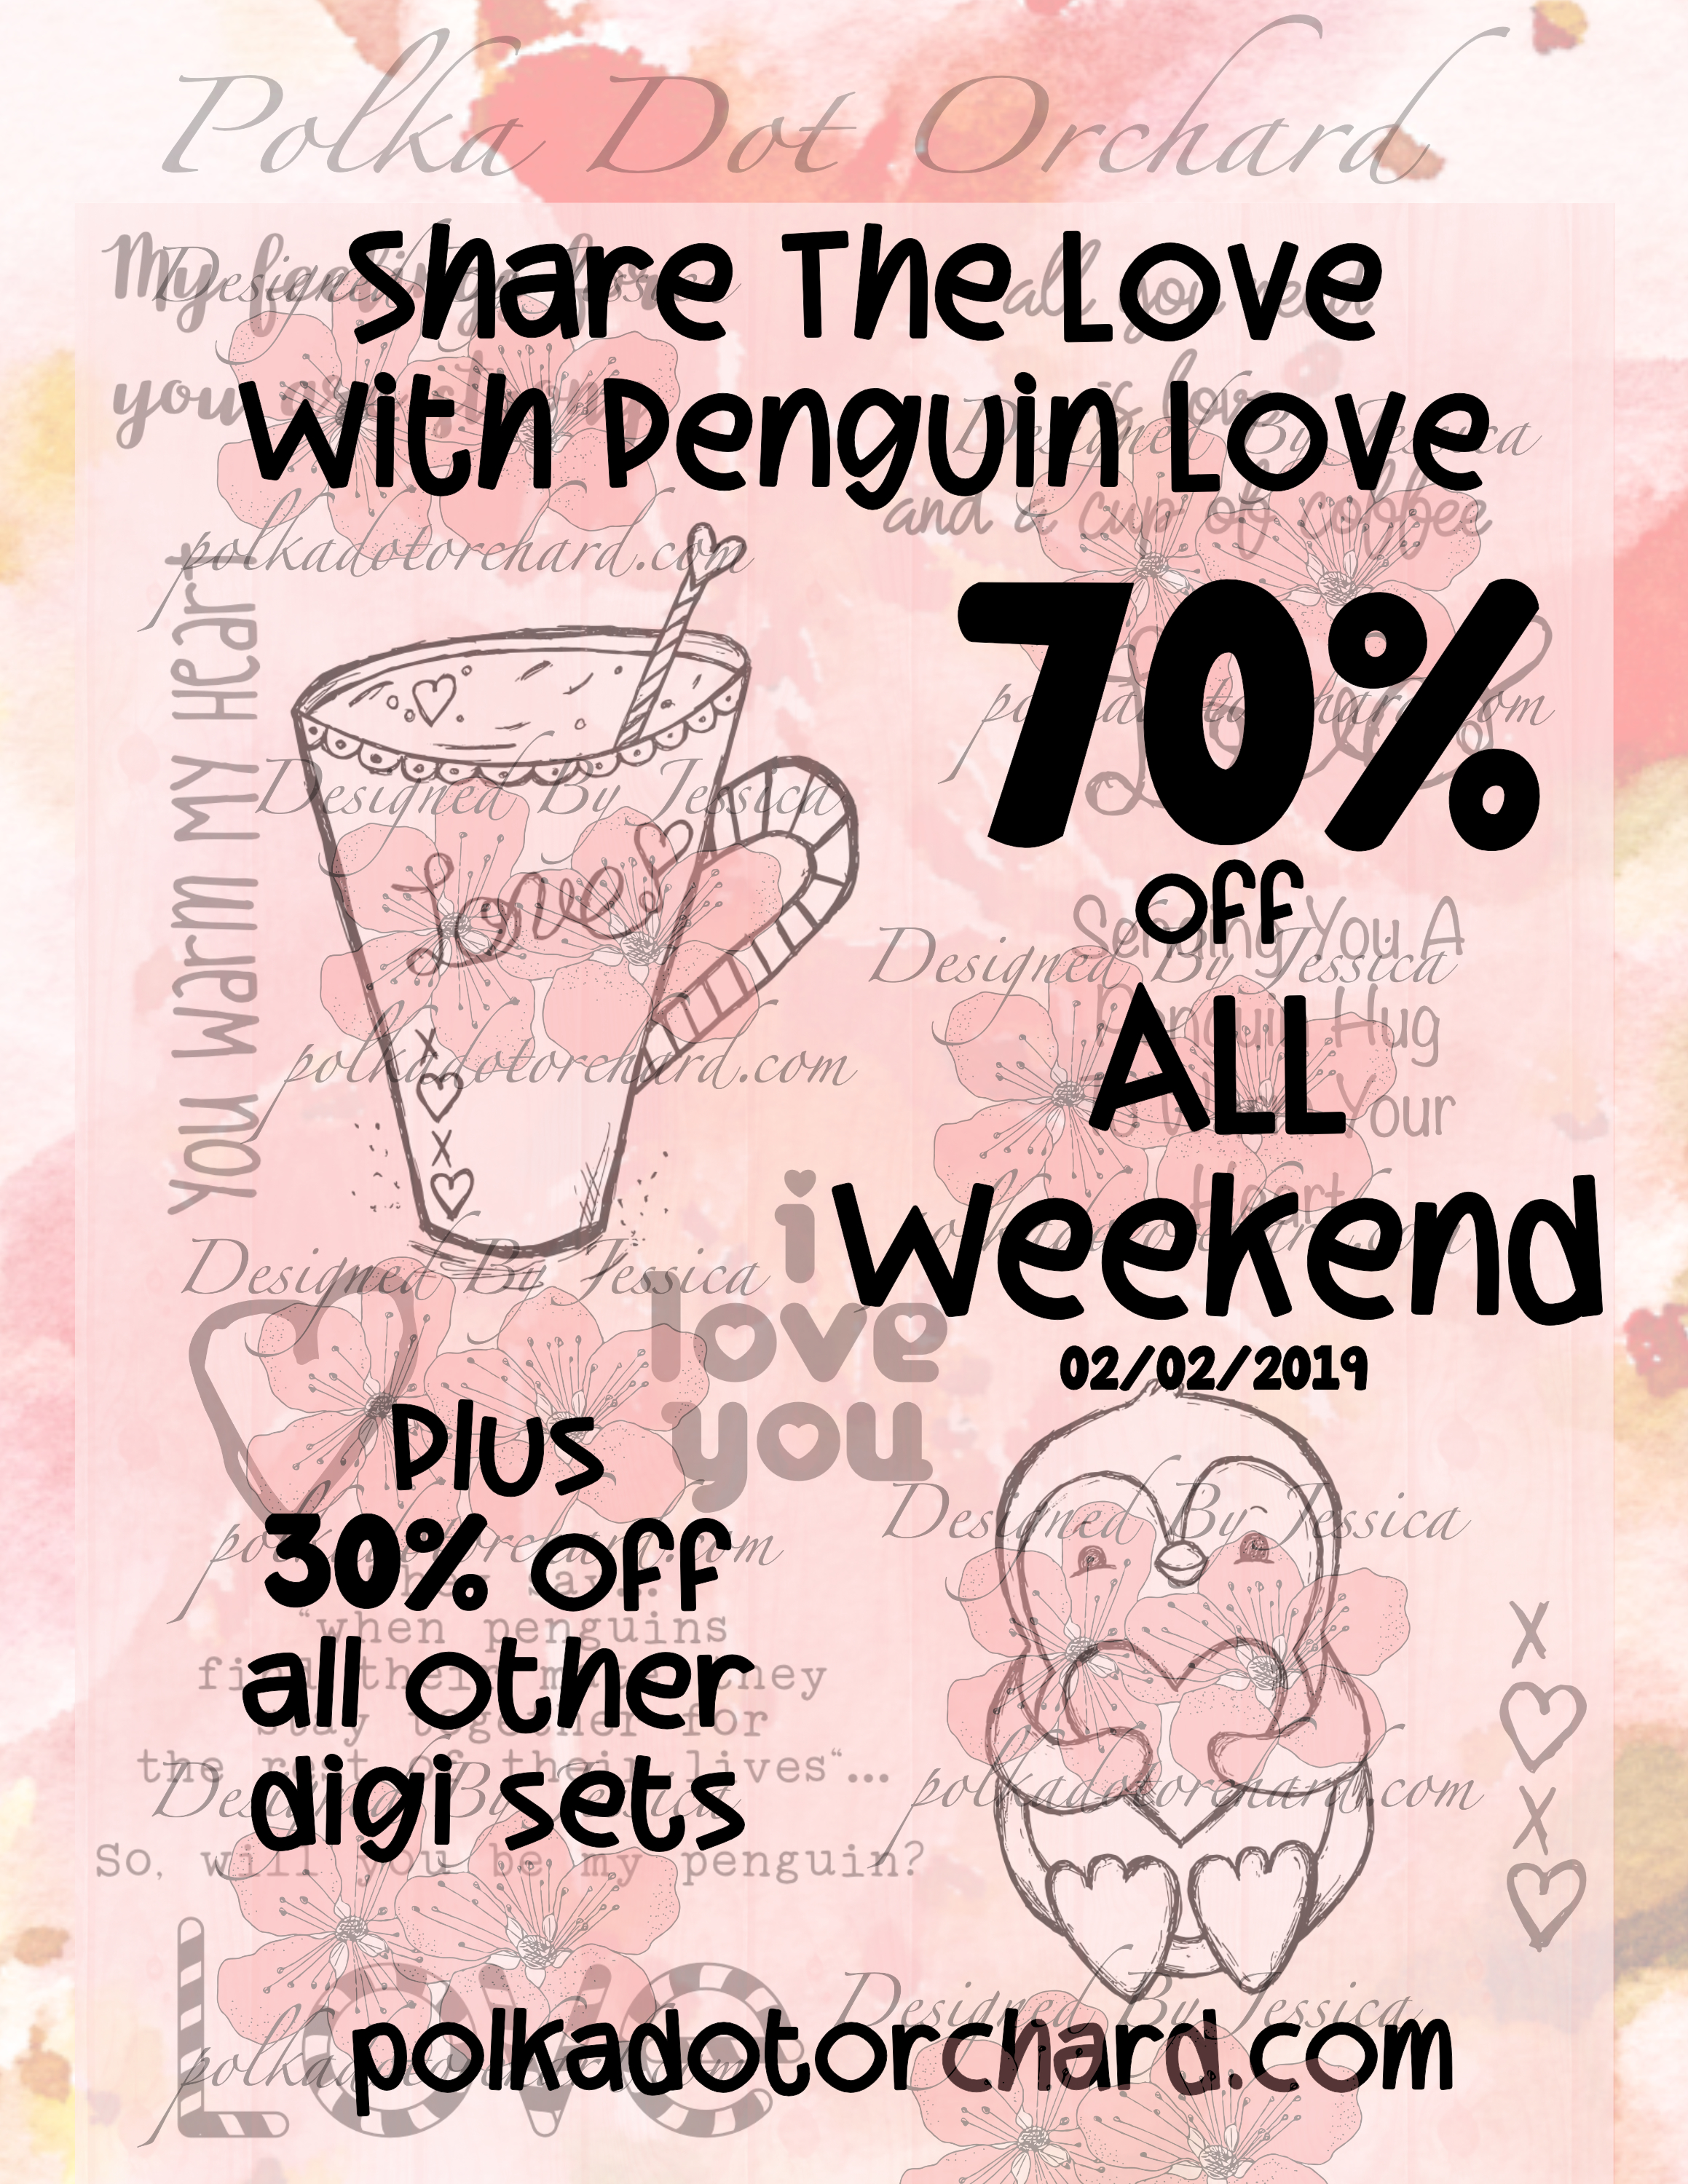
That’s if for today’s post, I hope I have inspired you in some way. Make sure to head over to the shop and grab that {Penguin Love} digi set while it is on sale.
Make sure to sign up for my newsletter if you would like special coupon codes and notifications when I post new sets to the store and freebie digi’s to the blog.